Navigation
Notes
- If you do not yet have an account, you should head to https://piazza.com/class/hx9h4t96ea8qv?cid=53. Let your GSI know if you do not receive one of your two emails.
- If you are using your own computer, you should head to lab1b before beginning this lab.
A. Java Compilation & Development
Java 1.7 is currently installed on the instructional machines. You may need to
install it on your personal computer. You can do that by downloading the
Java 1.7 JDK from Oracle.
Downloading the JDK should also provide javac, a Java compiler.
Java Is Compiled
Java is a compiled language rather than an interpreted language (like Python or Scheme.) When code in an interpreted language runs, an interpreter program translates the code into actions that the computer then executes. In contrast, a compiled language must first uses a compiler to translate the actions. Only afterwards can the computer run the resulting compiled code, either on the computer directly, or in Java's case, on an interpreter called the Java virtual machine.
Let's see an example. Here is the "Hello World" program in Java. Don't worry about understanding it right now. We'll deconstruct it later in this lab.
public class HelloWorld {
    public static void main(String[] args) {
        System.out.println("Hello world!");
    }
}
Here is what the corresponding Java compiled code (called bytecode) looks like. The virtual machine can interpret this to run the program.
Why Compilation?
At this point, you may be wondering by Java is compiled. Compilers are quite helpful for several reasons:
Compilers can check for errors prior to runtime. The Java compiler will catch and report errors like:
- type errors, which can be produced by giving functions the wrong
objects as parameters (like a
Stringinstead of aint) - syntax errors, which can be caused by forgetting syntactical elements like parentheses or braces
Catching these and many other types of errors prior to runtime help catch many of the possible bugs caused by programmer error and make Java programs more stable before they are run.
- type errors, which can be produced by giving functions the wrong
objects as parameters (like a
- Compilers can help speed up programs. Programs written in interpreted languages can be slow because interpreters must parse text that is understandable to humans and translate it into instructions that can be directly understood by the machine. The compiler does this translation work once and saves the instructions to a file called a binary. Then each time we run the binary, the machine reads the instructions directly, saving time and work.
- Compilers can verify access rights to classes and methods. Java has a lot of built-in security because access rights can be assigned to each class and method. Special keywords called access modifiers limit what other classes and methods have access to. The compiler checks that every program that uses a class or calls a method has the correct access rights to use or call it. You will learn more about this later in the course.
There are many other reasons some languages have compilers, some of which you will learn by taking CS 61C. But for now, you will just need to know how to compile and run your Java program.
Compiling Java Programs
There are many different Java compilers,
but we'll be using javac for command line in this class. As mentioned above,
javac is included in Oracle's Java Development Kit (JDK), so you can set it up
on your own computer if you'd like.
To compile a Java file called File.java, type the following command into your
terminal:
$ javac File.javaYou can also add some helpful options, which are called flags to the compile command. A full documentation is available here.
$ javac -g File.javaThe "-g" flag is one of the most helpful flags because it will generate debugging information, including local variables. This is good for testing programs. We encourage you to use this flag when testing your code during the development process.
Running Java Programs
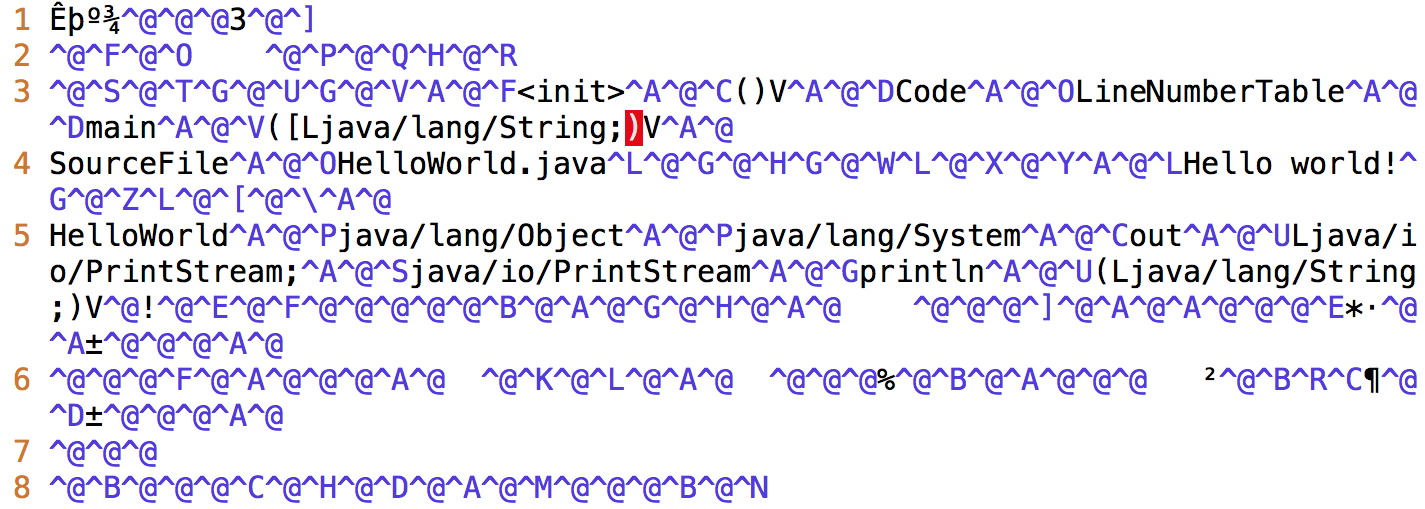
Compiling your program using the command above should give you .class files.
Opening the .class files will show you something like the bytecode in the
image at the very beginning of this lab.
Once you have your File.class file, you can run your Java program with this
command in your terminal:
$ java FileNote that you do not type File.class. That is a common mistake that will
cause an error message like this:
Error: Could not find or load main classRunning Hello World
Create a new text file called HelloWorld.java and type in the HelloWorld
program above. Then compile and run it using the following commands:
$ javac HelloWorld.java
$ java HelloWorld
You should see Hello world! printed out in your terminal.
Java Documentation
The Java language has incredible API (Application Programming Interface) documentation, which is often very helpful when using classes and methods in packages created by other programmers. Don't worry about understanding how to use or read this documentation yet. Just know that it is available and will come in very handy in the future.
A Note on IDEs
An IDE (integrated development environment) is a program that can be used to write and run programs without using command line. They provide useful features like debugging and are popular tools for programmers to write and test their code. There exist many popular IDEs for Java such as
You may use one if you would like. However, it is important to still know how to compile and run Java programs on command line.
IMPORTANT: Also, the course staff will not be officially supporting any of these IDEs. You will need to figure out how to use them on your own.
B. Writing Java Programs
Java is Object-Oriented
Java is an object-oriented programming language. Those of you who took 61A/AS may recognize that term as having been applied to Python/Scheme. Java takes OOP a step further. In Java, all programs have class definitions. Methods and variables exist within classes.
Format of a Java Program
Every Java file contains a public class, interface, or enum. For now, let's just discuss class definitions. A definition provides the name of the class as well as its variables and methods.
Here is a deconstruction of the aforementioned "Hello World" program:

A Java program consists of a collection of one of more of these Java files
containing classes, interfaces, or enums. At least one of the classes in a Java
program must contain a method called main. This main method is called in order
to run the program.
This is why running the HelloWorld program prints out Hello world!. The
main methods in the HelloWorld class is being run when you type
java HelloWorld into the terminal.
Comments in Java
There are two formats for comments in a Java program:
single-line comments start with two consecutive slash characters and continues to the end of the line
// This is one kind of commentmulti-line comments start with /* and end with */
/* This is a
   multi-line
   comment */
Some commenting styles add single asterisks at the start of each line in the comment after the first, to improve readability.
/* This is a
 * multi-line
 * comment */
Example: Leap-Year Program
For our first Java program, we'll be writing a program that prints out whether or not a year is a leap year or not. A leap year is either:
- divisible by 400 or
- divisible by 4 and not by 100.
For example, 2000 and 2004 are leap years. 1900, 2003, and 2100 are not leap years.
Your Java file should be called LeapYear.java. These lines should go into the
main method of the LeapYear class. Remember that your class name should
match the name of your file. Your program should include the line:
int year = 2000;If you're not sure where to start, you can copy and paste lines from this file.
Some Java Vocabulary in Leap Year
- The
%operator implements remainder. Thus, the value ofyear % 4will be 0, 1, 2, or 3. - The
!=operator compares two values for inequality. The code fragmentif (year % 4 != 0)reads as "if the remainder when dividingyearby 4 is not equal to 0." - The method
System.out.printlnprints its argument to "standard output" (which is, in this case, your terminal window) when called. - When one of the arguments of the
+operator is a string, the arguments are concatenated as strings. String concatenation is the operation of joining two character strings end-to-end.
Testing Leap Year
When you've arranged the lines properly and compiled successfully, running the program should print out the following line:
2000 is a leap year.You can test your program with other year values by changing the line
int year = 2000;to other numbers. Once your program is correct, save it as LeapYear.java.
You'll be submitting it below.
C. Using Git
Note: In this class, you will not be submitting work via your instructional accounts. You will instead be using a tool called Git to submit your work to a website called Github. Your instructional account will still be helpful if you want to work on the lab computers, but is not strictly necessary for the course.
If you'd like to learn more about using your instructional account, please read this guide, which can also be found on the resources page of the course website.
Git is a very useful tool, but a tricky one. We've written a guide that you'll be using through the semester. At the very least, you should now read through sections A, B, and C of our Git guide, and then work through the exercise in section D. Ideally, you should complete the remainder of the guide, including the exercise with a partner, but if time is short you can skip these sections for now. We expect you to eventually understand everything in this guide.
Git will quite possibly seem hard at first. It is a bad idea to jump in blindly and guess at git commands. You can find yourself in a bad spot. Read the Git guide, we mean it!
For future reference, it is also linked in the resources page. After reading that guide, continue below because you'll be using Git to submit your work for this lab.
D. Using Github
STOP! Did your read the Using Git Guide? If you didn't, don't go ahead. Read the guide first! You'll need it for the steps that follow this point.
While it is technically possible to copy and paste most of what is going on below without understanding what is going, this will likely cause you considerable grief later on.
Setting Up Your Git Repository
Before beginning this section ensure that the name of your GitHub repository in the Berkeley-CS61B organization matches your instructional account login. If this is not true, please let your TA know.
Note: You'll need to perform this series of steps to set up your Git repo on each computer you use (e.g. instructional computer, personal computer). If you know that you'll only be using your personal computer, feel free to do this just on your personal computer.
Clone your Berkeley-CS61B organization repository.
Navigate to the spot in your folders on your computer that you'd like to start your repository.
$ cd cs61bEnter the following command to clone your GitHub repo. Make sure to replace the
**with your own instructional account login/repo name.$ git clone https://github.com/Berkeley-CS61B/**.gitIf you'd like to SSH instead of HTTP (and set up your own SSH key), feel free to also do that instead.
Move into your newly created repo! (Make sure you do this part, or the rest of the steps below will not work correctly.)
$ cd **
Add the
skeletonremote. You will pull from this remote repo to get starter code for assignments. (Make sure that you are within the newly created folder when the continue with these commands.)Enter the follow command to add the
skeletonremote.$ git remote add skeleton https://github.com/Berkeley-CS61B/skeleton.gitListing the remotes should now show both the
originandskeletonremotes.$ git remote -v
Working on the Skeleton
You must now pull from the
skeletonremote in order to get the starter code for lab1. You will also do this when new projects and assignments are released.$ git pull skeleton masterMove
LeapYear.javainto thelab1directory. You should be on yourmasterbranch. You can check this with the following command:$ git branchStage and commit
LeapYear.java.$ git add lab1/LeapYear.java $ git commit -m "Completed LeapYear.java"Push these changes to the
masterbranch on theoriginremote repo.$ git push origin masterYou can verify that this has been successful by checking your repo on GitHub.
Complete Lab 1
Now that you have the skeleton, you should see a file in the lab1 directory
called Year.java.
You should fill it out, using your code in LeapYear.java. This time, however,
you'll notice that year is a parameter for the isLeapYear method rather than
a local variable within a method.
After you have filled out that file, commit your work as you did before.
#### Running the Autograder & Submitting HomeworkAt some points in your development, you may want to run the autograder.
Create an
ag/ASSIGNMENTbranch. In this case, the assignment is lab1.$ git checkout -b ag/lab1If you've previously created this branch, you do not need the
-bflag, which creates a new branch:$ git checkout ag/lab1 $ git merge masterPush this local branch to your GitHub repo.
$ git push origin ag/lab1
After pushing to the autograder branch, you should receive an email to the address associated with your login.
Note 1: For just this first lab, you will not be receiving an email. For other assignments, you will receive an email.
Note 2: This autograder may not be running the full number of tests that will be used to grade your assignment. (This especially true for the projects.) It should be used as a sanity check, not as a thorough test.
If you are ready to submit your homework, you will push to a
submitbranch.Create a
submit/ASSIGNMENTbranch.$ git checkout -b submit/lab1Similarly to with the autograder branch, if you have already created this branch, you just need to check it out and merge over your changes from your
masterbranch.$ git checkout submit/lab1 $ git merge masterPush this local branch to your GitHub repo.
$ git push origin submit/lab1
Note: You will not receive an autograder email from pushing to the submit
branch so do not worry about that. Also, you can continue pushing to the
submit branch if you find that you have corrections to make. We will run the
complete autograder for every assignment to get final grades only after the
deadline has passed.
Recap
- Java is a compiled language. You can use
javacandjavato compile and run your code. - Java is an object-oriented language. Every Java file must contain either a class, interface, or enumeration.
- When running a Java program, the
mainmethod runs. Thismainmethod can call other methods/classes in the program. - Git is a version control system that tracks the history of a set of files in the form of commits.
- Commit often and use informative commit messages.
- Pull from the
skeletonremote repository to get or update starter code for assignments. - Push to the
ag/ASSIGNMENTbranch to run the autograder or thesubmit/ASSIGNMENTbranch to submit assignments.